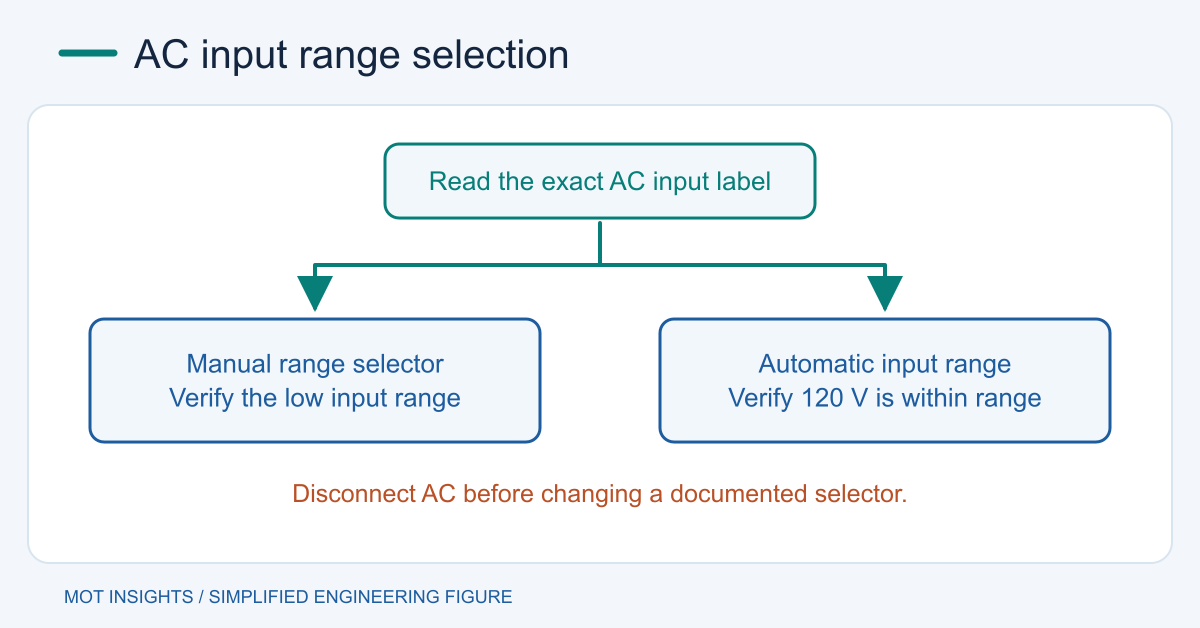
On a manual-range switching power supply, use the 115 V selector position for nominal 120 V AC only when the manufacturer specifies a low input range that includes your service. Disconnect AC before changing the selector. If the nameplate specifies a universal range that includes 120 V and the manual confirms automatic selection, connect it using the documented installation procedure.
Identify what the markings refer to
Look for the exact model, revision and AC input markings on the enclosure. A label such as 115/230 V may indicate a mechanical selector or a model-dependent range. A wide input range printed as one continuous interval often indicates automatic operation, but check the matching manual. Some enclosures share labels across variants. The selector can also be recessed or accessible only through a designated opening.
The output nameplate is a separate specification. A 12 V DC output stays nominally 12 V when the input range is correctly selected. A screw marked V ADJ trims the DC output within the manufacturer’s allowed range. Use the 12 V switching supply overview to identify the input and output ratings.
Match the actual service to the documented range
115 V on a selector is a range label. Confirm that the specified limits cover the expected supply voltage, including local variation, and that the frequency is allowed. A nearby outlet with a different connector or circuit rating does not establish the service voltage. Have a qualified person identify the circuit if it is uncertain. Check the manufacturer’s input-current and derating tables as well, because lower line voltage often increases current for a given output power.
Installing a low-range configuration on a high-voltage circuit can damage the input stage and create a fire or shock hazard. Selecting the high range on a lower-voltage service may prevent startup or proper regulation depending on the design. If the unit has been powered in the wrong position, disconnect it and follow the manufacturer’s service guidance before trying again.
Set and inspect a documented external selector
Isolate the supply from the AC source and any alternate feeds. Follow the manual’s waiting time and access instructions. If the selector is accessible from outside, move it fully to the documented detent using the method specified. Where the enclosure must be opened or wiring must be changed, hand the work to a qualified installer. Verify the label again before power is restored.
Use the installation instructions for protective earth, input protection, strain relief, covers, clearance and cooling. Exposed-terminal modules require the enclosure and protection appropriate to the equipment. The safe switching power supply connection guide explains terminal roles and output polarity.
Confirm the supply under load
Check that the DC output remains within tolerance as the intended load is applied. Verify there is no repeated startup, protective trip or unexpected heating. Take the permissible load and derating from the model documentation. At low line, check the full combination of load, airflow and ambient temperature, especially in enclosed equipment.
If output is absent, first check the selector position and the model’s remote-enable state, then consult the fault procedure. Leave the input disconnected before inspecting wiring. The SMPS repair guide describes which work requires a qualified service setup. For help identifying a model or matching a downstream component, contact MOT.